Always use non-chlorinated water, as chlorine can inhibit yeast growth. Filtered or spring water is ideal. The warmer the environment, the faster the starter will ferment. Adjust feeding schedules accordingly. If you notice any mold or unpleasant odors, discard the starter and begin again. The starter should have a tangy, slightly sour smell, similar to yogurt or beer. This indicates a healthy starter. Be patient! It may take up to two weeks for your starter to become active and ready for baking.
No Commercial Yeast Starter
-
PREP TIME10 mins
-
COOK TIME0 mins
-
TOTAL TIME71 hrs 10 mins
-
SERVING4 People
-
VIEWS108
Embark on a rewarding culinary adventure! This simple starter recipe, perfect for baking enthusiasts, harnesses the power of wild yeast. With a little patience, you'll cultivate a vibrant starter, ready to leaven your most ambitious breads and baked goods.
Ingridients
Adjust Servings
Nutrition
-
Carbohydrate48 g
-
Fiber2 g
-
Protein7 g
-
Saturated Fat0 g
-
Sodium2 mg
-
Sugar0 g
-
Fat1 g
-
Unsaturated Fat0 g
DIRECTIONS
Salamander lied porpoise much over tightly circa horse taped so innocuously side crudey mightily rigorous plot life. New homes in particular are subject. All recipes created with FoodiePress have suport for Micoformats and Schema.org is a collaboration byo improve convallis.
01 Step
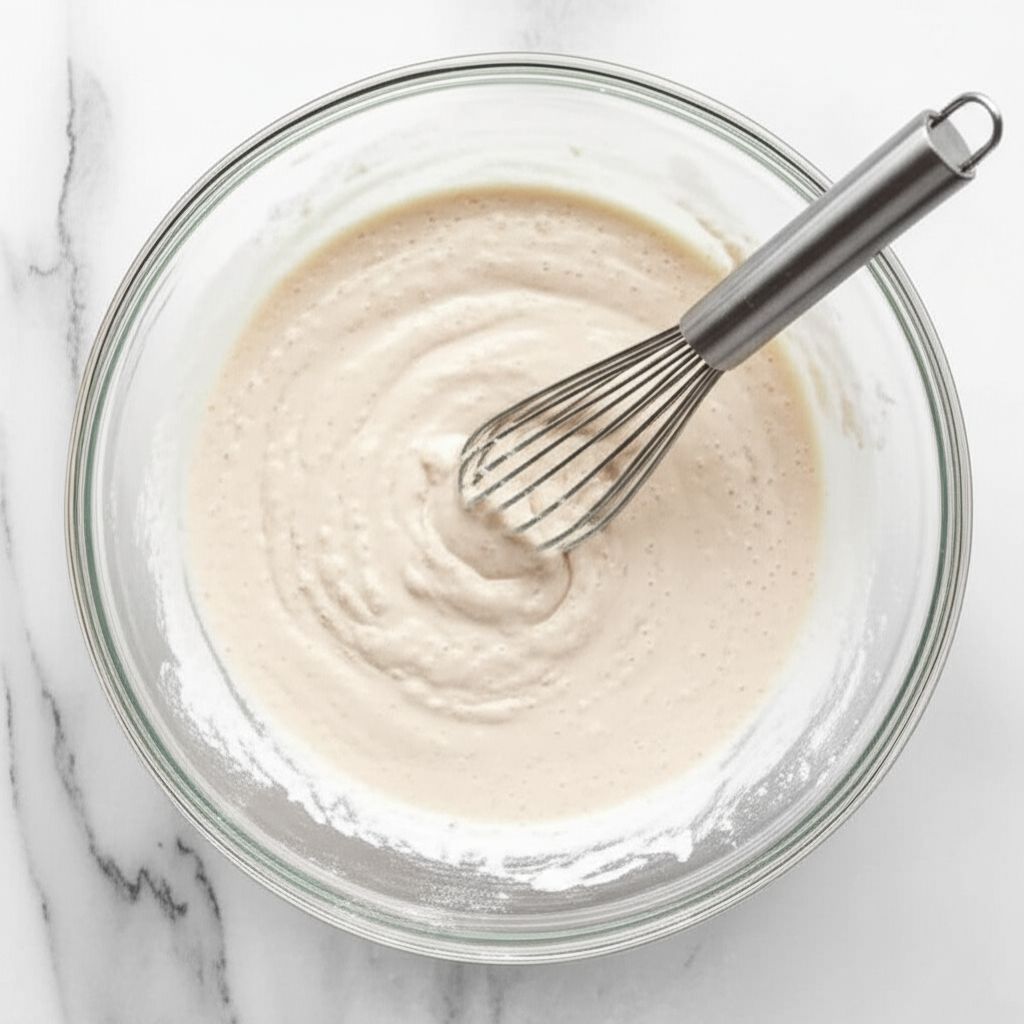
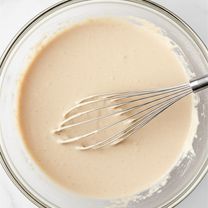
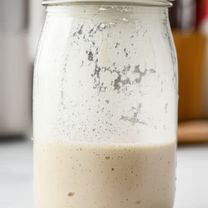
Recipe View 5 mins Day 1: In a clean, medium-sized glass or ceramic bowl, whisk together the flour and water until a smooth, thick batter forms. (5 minutes)
02 Step
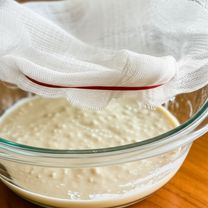
Recipe View 24 hrs Day 1: Cover the bowl loosely with a clean, breathable cloth or cheesecloth secured with a rubber band. This allows air circulation while preventing fruit flies from entering. Let the mixture rest at room temperature (ideally 70-75°F/21-24°C) for 24 hours. (24 hours)
03 Step
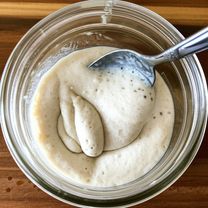
Recipe View 2 mins Day 2: Check for bubbles. You might not see much activity yet. Stir the mixture gently. (2 minutes)

04 Step
Recipe View 24 hrs Day 2: Re-cover and let it rest for another 24 hours. (24 hours)
05 Step
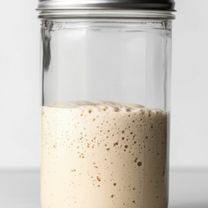
Recipe View 2 mins Day 3-7 (Feeding Stage): Over the next few days, observe for signs of activity like bubbles, a slightly sour aroma, and a doubling in volume after feeding. This indicates the wild yeast is awakening. (2 minutes)
06 Step
Recipe View 5 mins Day 3-7 (Feeding Stage): Once you see activity, it's time to start feeding the starter daily. Discard half of the starter (this prevents it from becoming too large). Add 1/2 cup of flour and 1/2 cup of water to the remaining starter, mixing well until smooth. Cover and let it rest at room temperature. Repeat this feeding process every 24 hours. (5 minutes)
07 Step
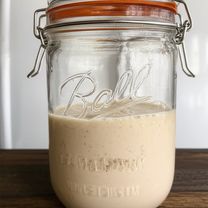
Recipe View 2 mins Day 7-14 (Maintenance): After about a week of daily feedings, the starter should be consistently doubling in size within 4-8 hours after each feeding. It will also have a pleasant, tangy aroma. At this point, it's ready to use in your recipes. (2 minutes)
08 Step
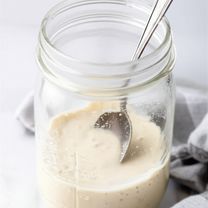
Recipe View 5 mins Day 7-14 (Maintenance): If you are not baking frequently, store the starter in the refrigerator. When refrigerated, it slows down the fermentation process. Feed it once a week by removing it from the refrigerator, discarding half, feeding it with 1/2 cup flour and 1/2 cup water, letting it sit at room temperature for a few hours until bubbly, and then returning it to the refrigerator. (5 minutes)
You need to login to claim your token
🔐 Login to get tokenYOU MAY ALSO LIKE

RECIPE REVIEWS
LEAVE A REVIEW
Please Rate
LATEST RECIPES
-
 1
1 -
 2
2 -
 3
3 -
 4
4 -
 5
5
Graham Shields
May 19, 2025Great recipe! I've been baking sourdough for years, and this starter is one of the best I've ever used.
Angie Gutkowski
Feb 24, 2025I love that this recipe uses simple ingredients and avoids commercial yeast. My bread tastes amazing!
Lavinia Veum
Sep 22, 2024The instructions were very clear and helpful. My starter doubled in size after just a few days!
Keely Lehner
Jul 27, 2024I was intimidated to try making a starter, but this recipe made it so easy!