For a glossy finish, consider adding a small amount of light corn syrup to your icing. If you prefer a more natural look, use edible black food coloring and a fine-tipped brush instead of the decorating gel for the eyes and mouth. Experiment with different colors and designs for the scarves and buttons to create unique snowmen personalities.
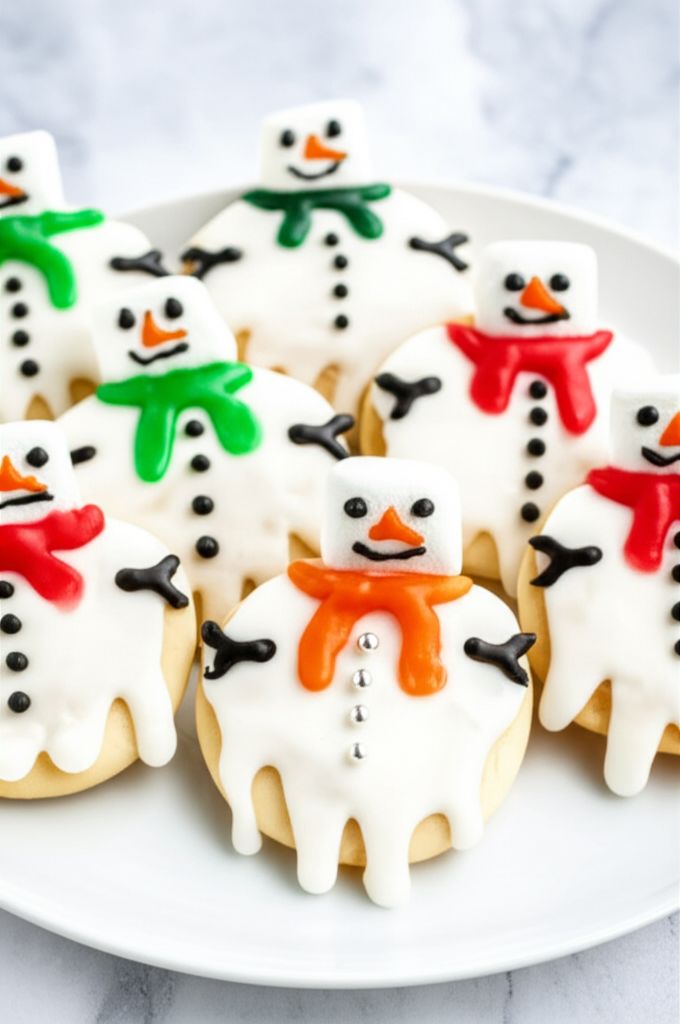
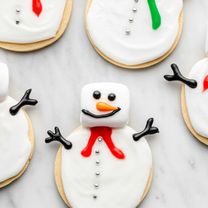
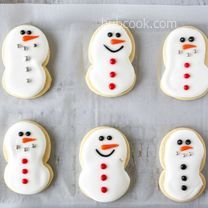
Melted Snowman Cookies
-
PREP TIME2 hrs
-
COOK TIME10 mins
-
TOTAL TIME3 hrs 10 mins
-
SERVING24 People
-
VIEWS72
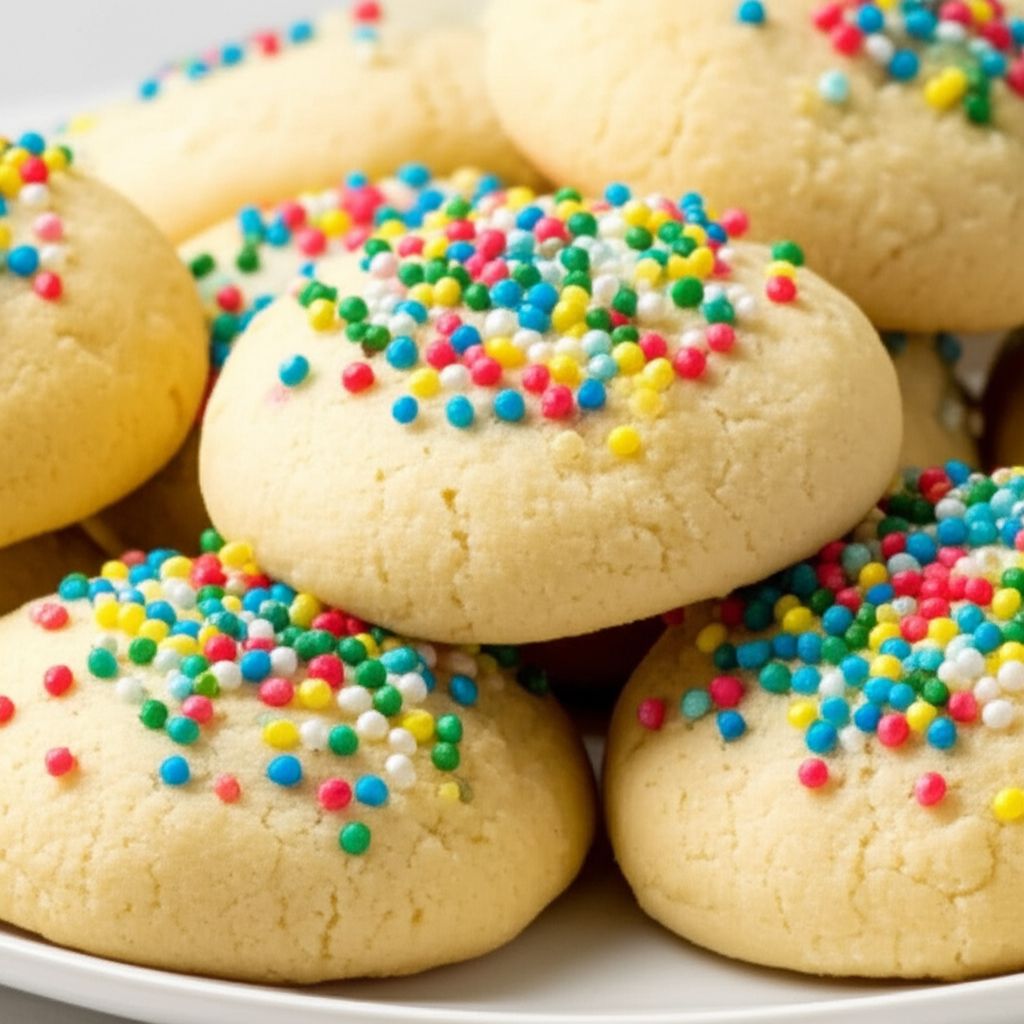
Capture the whimsical charm of winter with these adorable Melted Snowman Cookies. A delightful project for bakers of all ages, these cookies are as fun to make as they are to eat, bringing a touch of frosty fun to any gathering.
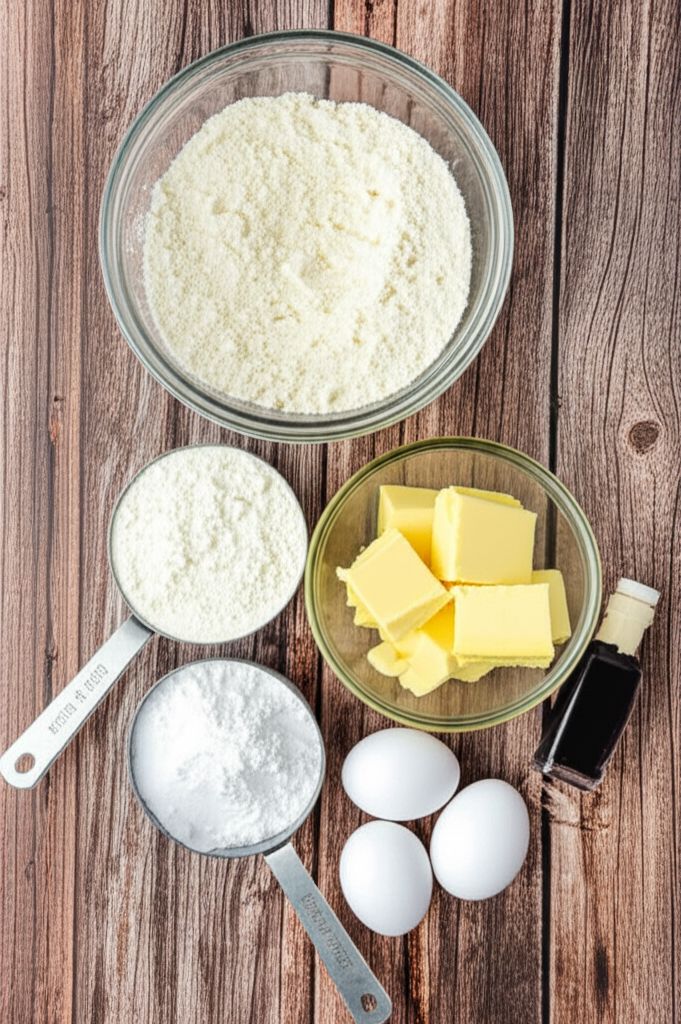
Ingridients
Adjust Servings
Nutrition
-
Carbohydrate70 g
-
Cholesterol8 mg
-
Fiber0 g
-
Protein2 g
-
Saturated Fat1 g
-
Sodium127 mg
-
Sugar54 g
-
Fat3 g
-
Unsaturated Fat0 g
DIRECTIONS
Salamander lied porpoise much over tightly circa horse taped so innocuously side crudey mightily rigorous plot life. New homes in particular are subject. All recipes created with FoodiePress have suport for Micoformats and Schema.org is a collaboration byo improve convallis.
01 Step
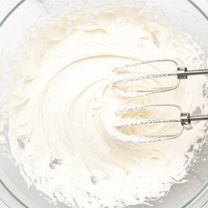
Recipe View In a large, clean bowl, lightly beat the egg whites with an electric mixer until frothy. Gradually add confectioners' sugar, beating until the icing reaches a consistency that will hold its shape. Blend in lemon juice, adjusting the amount until the icing is smooth and of desired thickness. (Approximately 5 minutes)
02 Step
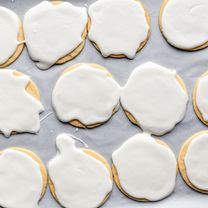
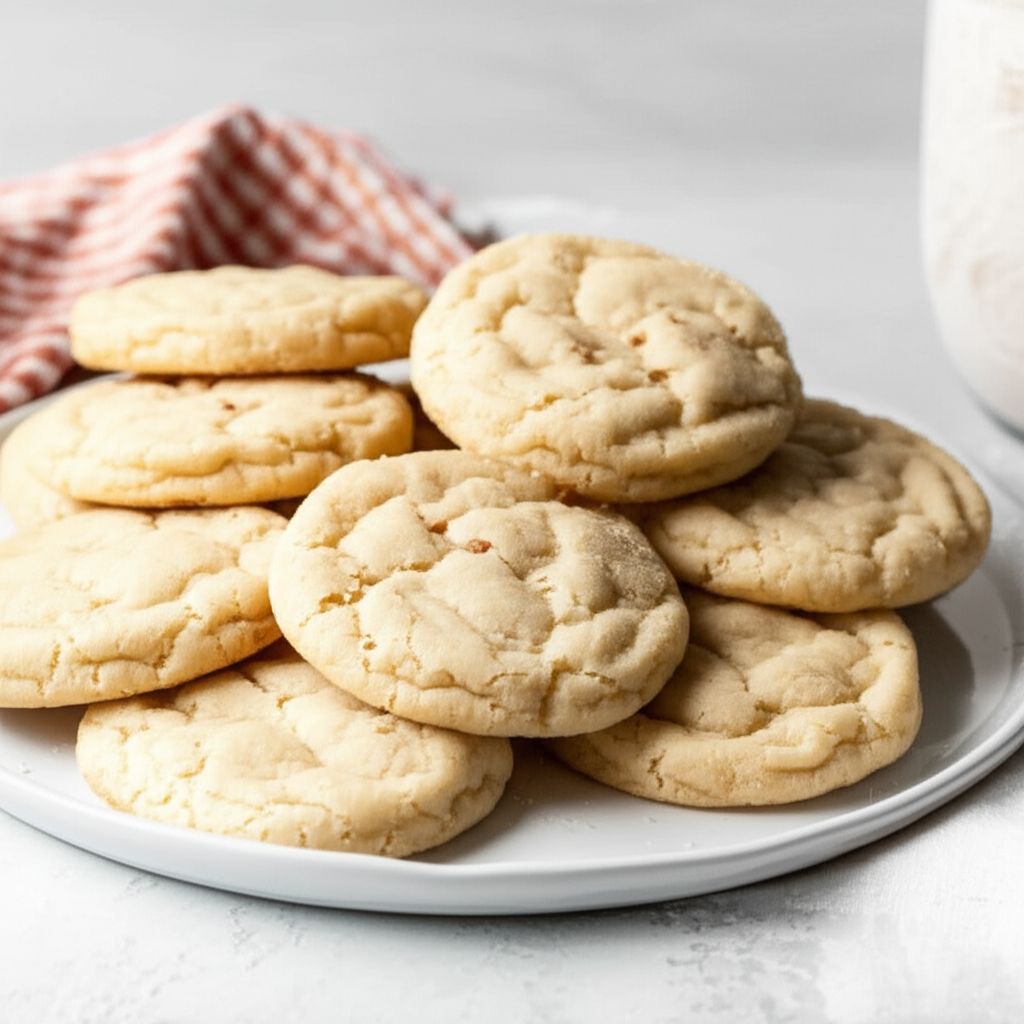
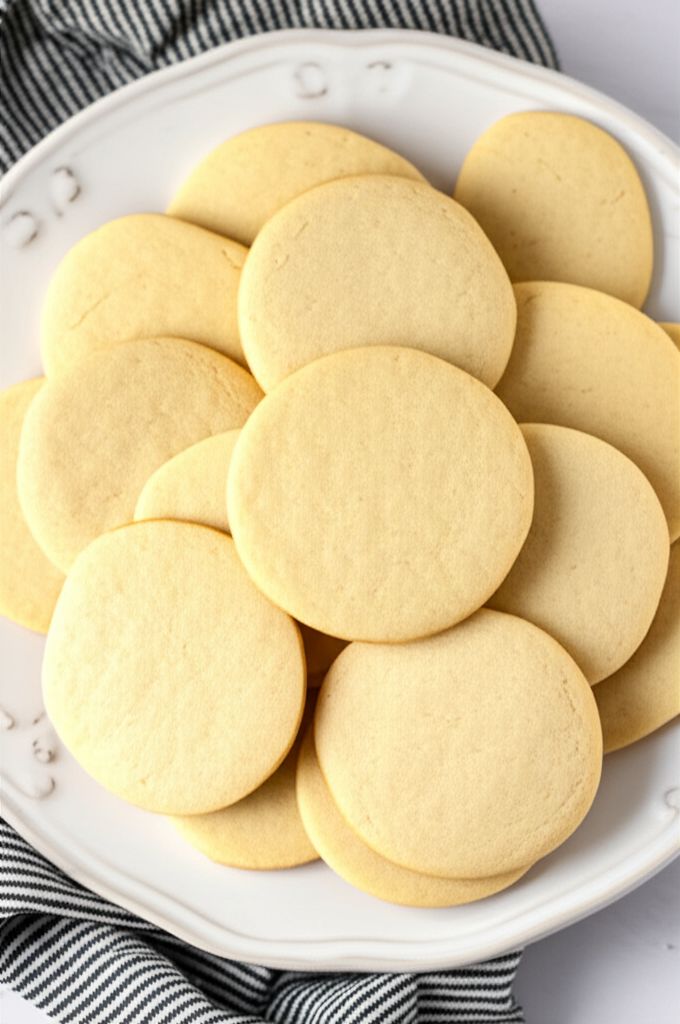
Recipe View Arrange the sugar cookies on a large sheet of waxed paper, spacing them about 1-inch apart. Generously spread the icing over each cookie, allowing it to drip artfully over the edges to mimic melting snow. (Approximately 15 minutes)

03 Step
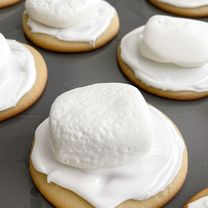
Recipe View Lightly grease a microwave-safe plate. Place one marshmallow on the plate.
04 Step
Recipe View Microwave the marshmallow until it begins to puff up. This should only take 20 to 30 seconds. Immediately transfer the melted marshmallow to the edge of an iced cookie, pressing gently while the icing is still wet to secure it in place. Repeat with the remaining marshmallows and cookies. (Approximately 15 minutes)
05 Step
Recipe View Once the marshmallows are positioned, begin decorating your melted snowmen. Use the black decorating gel to pipe small twig-like arms onto the icing, add coal eyes and a cheerful mouth on the marshmallow. Create a carrot nose using the orange decorating gel, placing it just below the eyes. Arrange the silver nonpareils down the middle of the icing to create coat buttons. Finish by adding scarves or bow ties using the red or green decorating gels. (Approximately 30 minutes)
06 Step
Recipe View Allow the cookies to fully dry and the icing to set completely before carefully removing them from the waxed paper. This may take at least 1 hour.
You need to login to claim your token
🔐 Login to get tokenYOU MAY ALSO LIKE

RECIPE REVIEWS
LEAVE A REVIEW
Please Rate
Olin Brown
Mar 17, 2025These were a hit at our holiday party! So cute and festive.
Opal Bahringer
Mar 14, 2025A little time-consuming, but totally worth the effort. My kids loved helping me decorate them!
Blanca Bartoletti
Mar 1, 2025I used a little peppermint extract in the icing for an extra holiday flavor. Delicious!