For an even richer flavor, consider using homemade chicken broth. If you don't have clam juice, you can substitute additional chicken broth. Be careful not to overcook the shrimp, as they will become rubbery. For a vegetarian version, omit the shrimp and clam juice and use vegetable broth. Adjust the amount of red pepper flakes to your preferred level of spice. Leftovers can be stored in an airtight container in the refrigerator for up to 2 days.
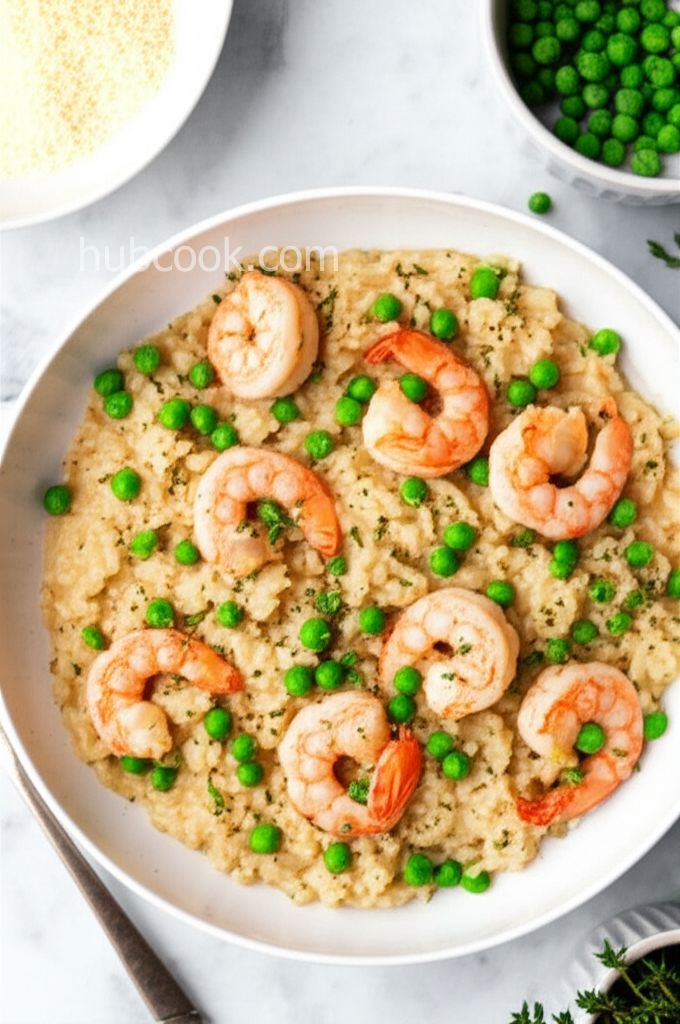
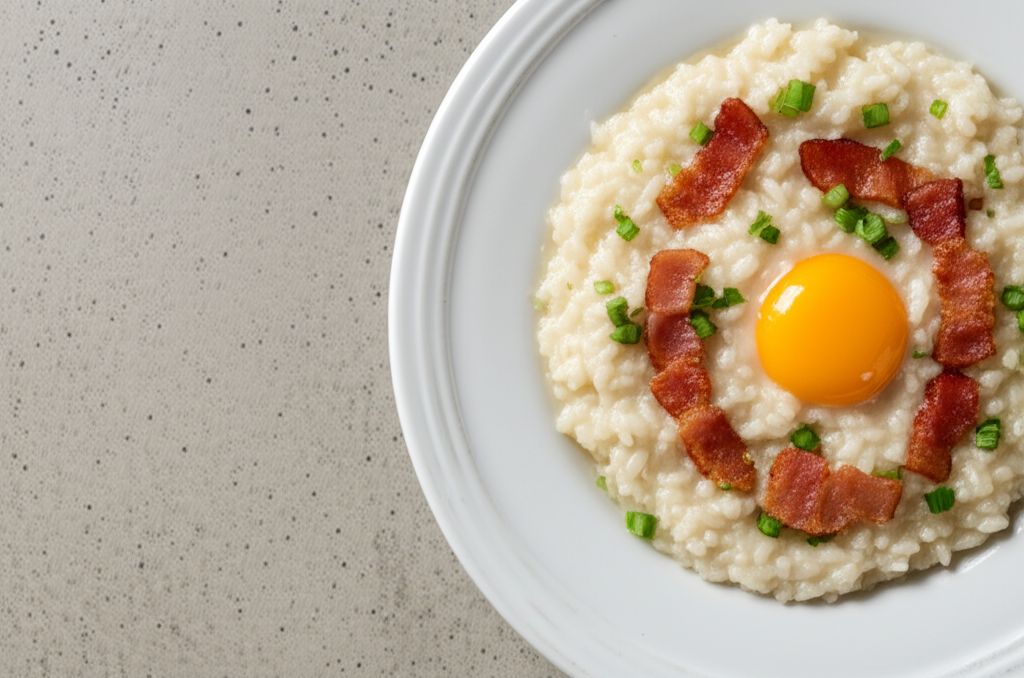
Instant Pot Shrimp Risotto with Peas
-
PREP TIME15 mins
-
COOK TIME25 mins
-
TOTAL TIME50 mins
-
SERVING6 People
-
VIEWS25
Experience the luxurious comfort of shrimp risotto, reimagined for the modern kitchen. This Instant Pot version delivers creamy, perfectly cooked risotto with succulent shrimp and sweet peas, all with minimal effort and maximum flavor. A restaurant-quality dish in a fraction of the time!
Ingridients
Adjust Servings
Nutrition
-
Carbohydrate66 g
-
Cholesterol145 mg
-
Fiber2 g
-
Protein23 g
-
Saturated Fat7 g
-
Sodium434 mg
-
Sugar2 g
-
Fat13 g
-
Unsaturated Fat0 g
Follow The Directions
01
StepTurn on a multi-functional pressure cooker (such as Instant Pot) and select the 'Saute' function on normal setting. Add 2 tablespoons of butter and olive oil. Once melted, stir in the shallot and garlic and cook until softened and fragrant, about 1 minute.
02
StepAdd the Arborio rice and cook, stirring constantly, until the grains are coated in the butter and oil and slightly toasted, about 3 minutes. This step is crucial for developing the risotto's creamy texture.
03
StepPour in the white wine, scraping the bottom of the pot with a wooden spoon to deglaze any browned bits. Cook until the wine has almost completely evaporated, about 1 minute. This adds depth of flavor to the risotto.
04
StepTurn off the 'Saute' function. Stir in the chicken broth, clam juice, thyme, and red pepper flakes. Ensure all ingredients are well combined.
05
StepClose and lock the lid of the Instant Pot. Select the 'Pressure Cook' or 'Manual' function on high pressure and set the timer for 6 minutes. Allow 10-15 minutes for the pressure to build.
06
StepOnce the cooking time is complete, allow the pressure to release naturally for 5 minutes. Then, carefully release any remaining pressure using the quick-release method according to the manufacturer's instructions.
07
StepWhile the pressure is releasing, melt 1 tablespoon of butter in a large skillet over medium-high heat. Add the shrimp and season with paprika, salt, and pepper. Cook until the shrimp are pink and opaque, about 3 minutes, flipping halfway through.
08
StepUnlock and carefully remove the lid from the Instant Pot. Stir in the cooked shrimp, thawed peas, Parmesan cheese, and remaining 1 tablespoon of butter into the rice mixture. Stir until the cheese is melted and the risotto is creamy.
09
StepDivide the risotto among bowls and serve immediately. Garnish with additional grated Parmesan cheese and a sprinkle of fresh thyme, if desired.
You need to login to claim your token
🔐 Login to get tokenYOU MAY ALSO LIKE

RECIPE REVIEWS
LEAVE A REVIEW
Please Rate


Jamarcus Pfeffer
Jun 20, 2025Next time I might add some asparagus along with the peas for a bit more veggie action!
Mallie Parisian
May 12, 2025The Instant Pot made this risotto so creamy and perfect. I'll never make it on the stovetop again!
Aliyah Considine
May 2, 2025I love how quick this is! Perfect for a weeknight meal.
Mateo Zieme
Apr 19, 2025The recipe was easy to follow, and the risotto turned out perfectly. I'll definitely be making this again!
Opal Hettingerkris
Mar 28, 2025This was so easy and delicious! My family loved it.
Kasandra Rippin
Mar 18, 2025I didn't have any clam juice, so I used all chicken broth and it was still great.
Ruben Lemke
Mar 8, 2025I added a little lemon zest at the end and it brightened up the flavors beautifully.