For an extra layer of flavor, try adding a pinch of red pepper flakes to the dough. Don't overwork the dough; gentle kneading is key to tender crackers. Experiment with different herbs and cheeses to customize your crackers. Thyme and Asiago would be delicious! Be sure to roll the dough out as thinly as possible for maximum crispness. Watch the crackers carefully during baking, as they can burn quickly.
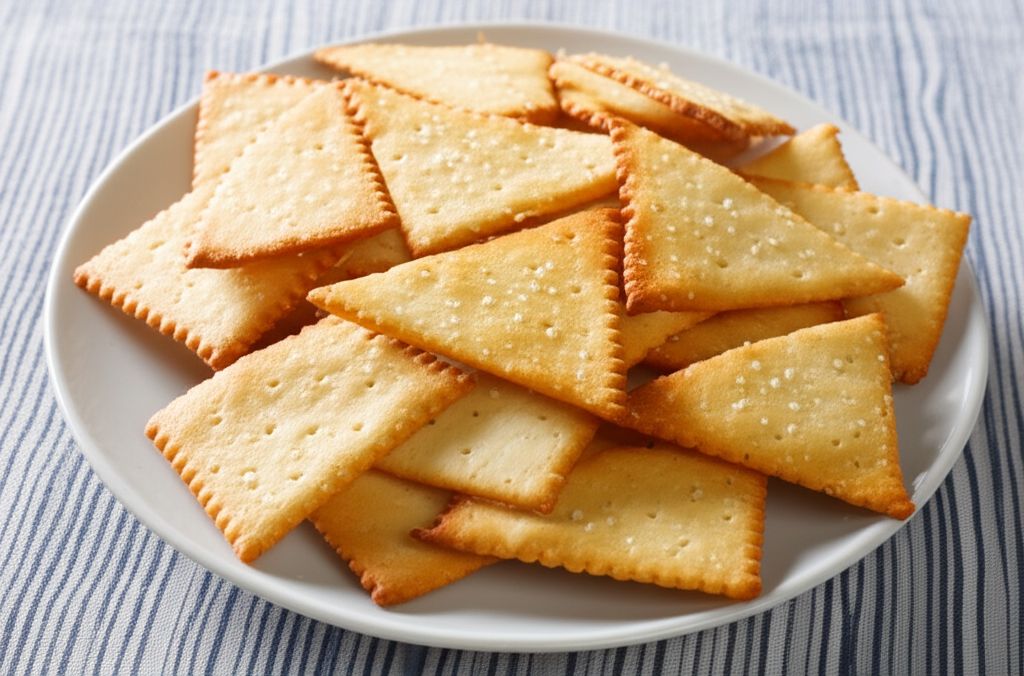
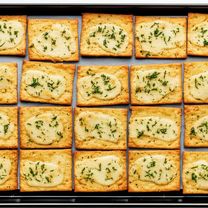
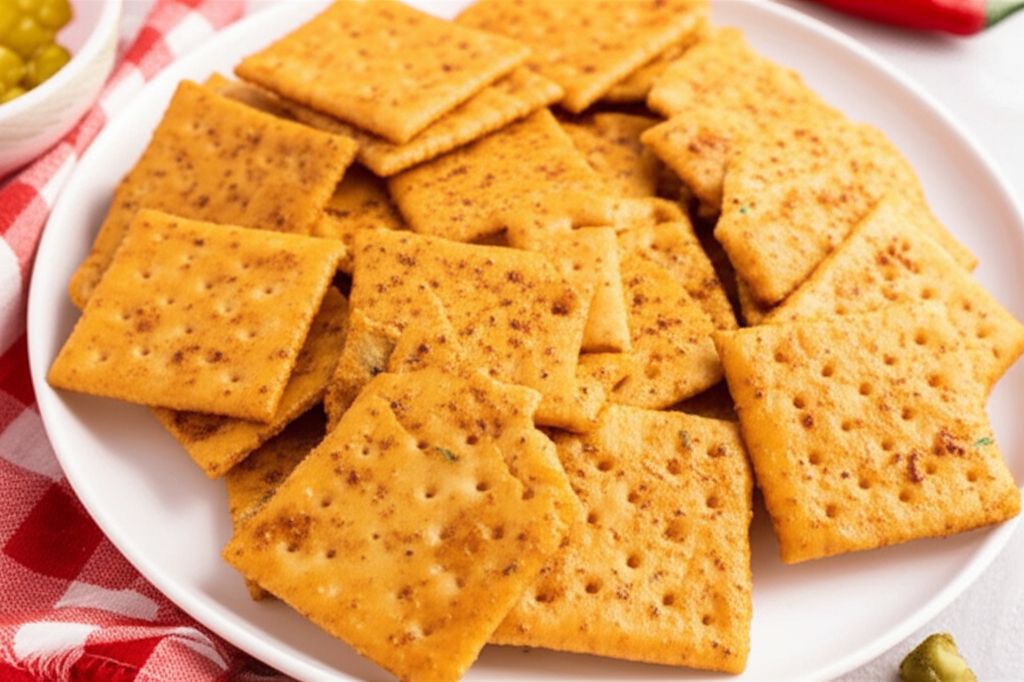
Crispy Rosemary Sea Salt Flatbread Crackers
-
PREP TIME20 mins
-
COOK TIME12 mins
-
TOTAL TIME32 mins
-
SERVING60 People
-
VIEWS187
Elevate your snacking game with these homemade rosemary sea salt flatbread crackers. Crispy, aromatic, and utterly addictive, they're a gourmet delight that's surprisingly simple to create. Forget store-bought – these are in a league of their own!
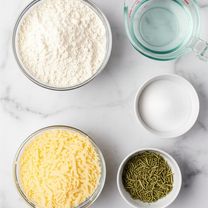
Ingridients
Adjust Servings
Nutrition
-
Carbohydrate3 g
-
Cholesterol1 mg
-
Fiber0 g
-
Protein1 g
-
Saturated Fat0 g
-
Sodium58 mg
-
Sugar0 g
-
Fat1 g
-
Unsaturated Fat0 g
DIRECTIONS
Salamander lied porpoise much over tightly circa horse taped so innocuously side crudey mightily rigorous plot life. New homes in particular are subject. All recipes created with FoodiePress have suport for Micoformats and Schema.org is a collaboration byo improve convallis.
01 Step
Recipe View 5 mins Preheat your oven to 400°F (200°C). Line a baking sheet with parchment paper or a silicone baking mat. (5 minutes)
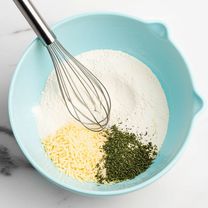
02 Step
Recipe View 2 mins In a large mixing bowl, whisk together the flour, kosher salt, sugar, and Parmigiano-Reggiano cheese until well combined. Stir in the minced rosemary. (2 minutes)
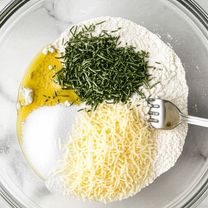
03 Step
Recipe View 5 mins Drizzle the olive oil over the dry ingredients, then gradually add the ice water, mixing with a fork until the dough just comes together. It should be slightly sticky and pull away from the sides of the bowl. (3-5 minutes)

04 Step
Recipe View 5 mins Turn the dough out onto a lightly floured surface. Knead gently, adding flour as needed, until the dough is smooth and no longer sticky. Divide the dough in half. (4-5 minutes)
05 Step
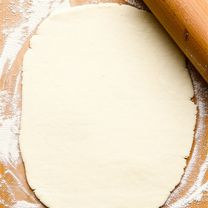
Recipe View 5 mins On a well-floured surface, roll out one half of the dough to a very thin sheet, about 1/8-inch thick or less. The thinner, the crispier! (5 minutes)
06 Step
Recipe View 3 mins Lightly brush or mist the surface of the dough with water. Sprinkle generously with coarse sea salt. Use a fork to prick the entire surface of the dough; this prevents excessive puffing during baking. (3 minutes)
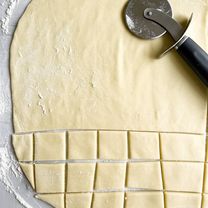
07 Step
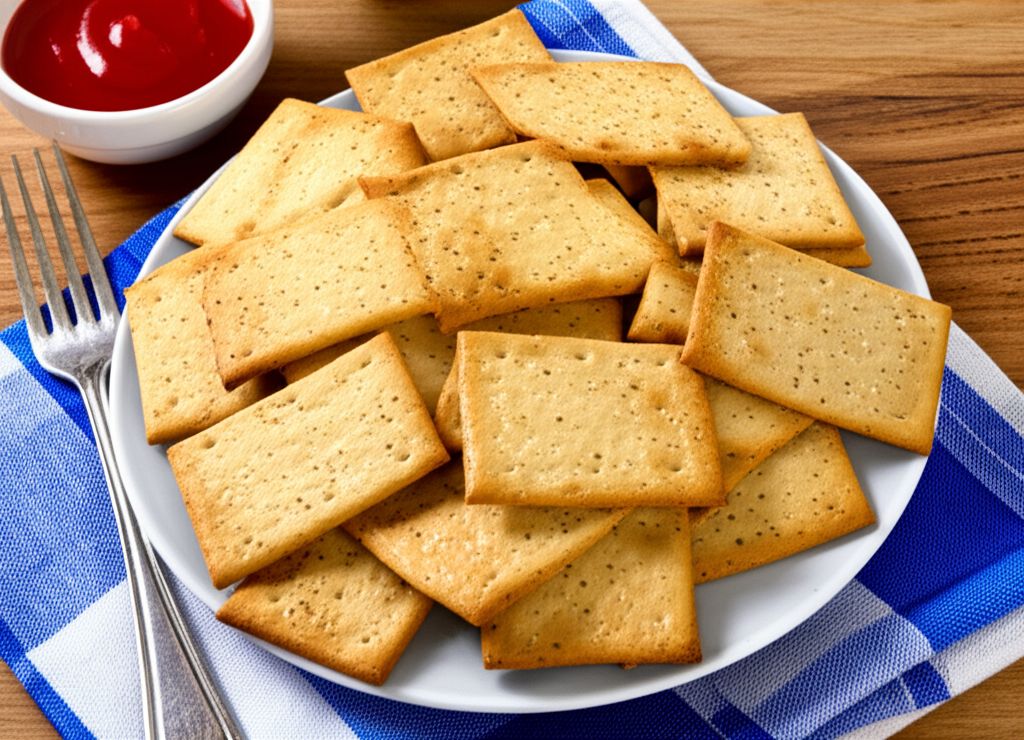
Recipe View 2 mins Using a pizza wheel or sharp knife, cut the rolled-out dough into desired shapes: squares, rectangles, or triangles. (2 minutes)
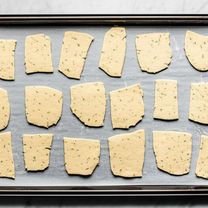
08 Step
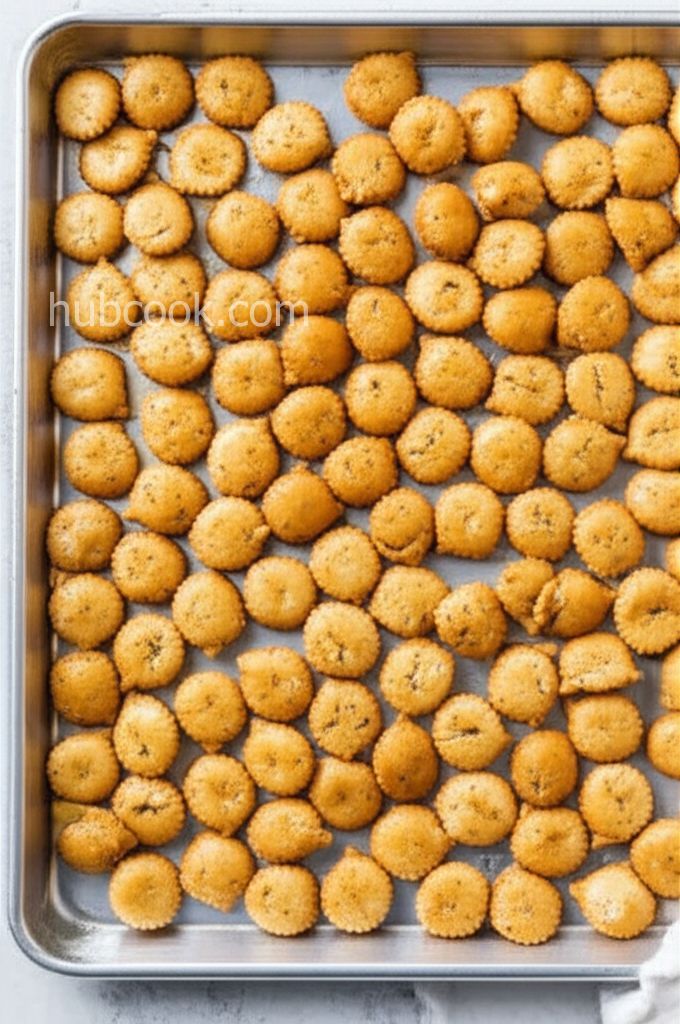
Recipe View 5 mins Carefully transfer the cracker pieces to the prepared baking sheet, leaving a small space between each. A bench scraper or floured fingers will help with this step, as the dough can be delicate. (5 minutes)
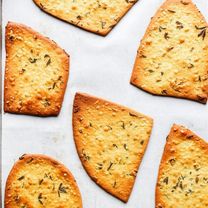
09 Step
Recipe View 15 mins Bake in the preheated oven until the crackers are golden brown and crisp, approximately 10-15 minutes. Keep a close eye on them, as baking time will vary depending on the thickness of the crackers. (10-15 minutes)
10 Step
Recipe View Remove from the oven and let the crackers cool completely on the baking sheet before serving. Store in an airtight container to maintain their crispness.
You need to login to claim your token
🔐 Login to get tokenYOU MAY ALSO LIKE
RECIPE REVIEWS
LEAVE A REVIEW
Please Rate
Dayne Schmitt
Mar 29, 2025My family devoured these in minutes. I'll definitely be making them again.
Adeline Deckow
Sep 15, 2024These crackers are amazing! So much better than anything I can buy at the store.
Ben Harber
Aug 21, 2024I added a little garlic powder to the dough, and they were a huge hit!
Darien Hilll
Nov 22, 2023The dough was a little sticky, but the end result was worth it!
Jovany Nienow
Oct 26, 2023Rolling the dough out thin enough was a bit of a challenge, but the tips helped.