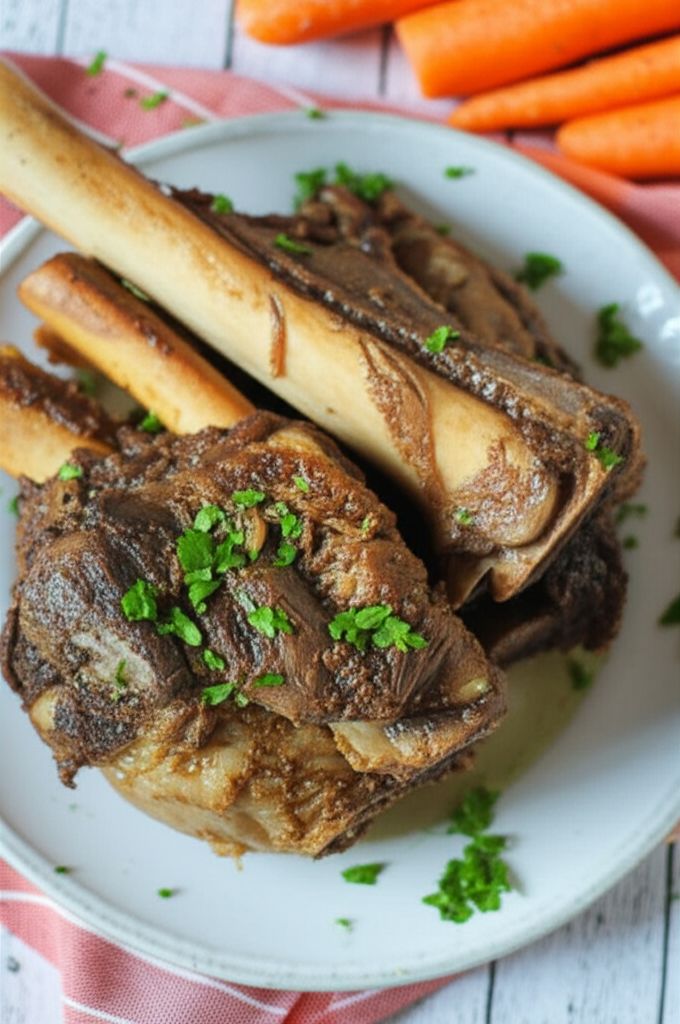
For a richer flavor, use a combination of beef bones, such as marrow bones and knuckle bones. You can add other vegetables to the broth, such as celery, parsnips, or leeks. If you don't have a slow cooker, you can simmer the broth on the stovetop on very low heat. Be sure to check the water level periodically and add more as needed. Skim off any foam or impurities that rise to the surface of the broth during the first few hours of cooking for a clearer final product. The cooled broth can be defatted easily by skimming the solidified fat from the top.
Bone Broth
-
PREP TIME10 mins
-
COOK TIME24 hrs 30 mins
-
TOTAL TIME24 hrs 40 mins
-
SERVING8 People
-
VIEWS69
Unlock the ancient secret to robust health with this deeply nourishing Bone Broth. Simmered for a full day, it transforms humble bones into a elixir rich in collagen, amino acids, and essential nutrients. A versatile base for soups, stews, or simply enjoyed on its own, this broth is a comforting and restorative addition to your culinary repertoire.
Ingridients
Adjust Servings
Nutrition
-
Carbohydrate11 g
-
Fiber2 g
-
Protein2 g
-
Saturated Fat0 g
-
Sodium186 mg
-
Sugar6 g
-
Fat0 g
-
Unsaturated Fat0 g
Follow The Directions
01
StepPreheat oven to 400 degrees F (200 degrees C). Spray a roasting pan with cooking spray. (5 minutes)
02
StepSpread tomato paste evenly onto beef bones and place in the prepared roasting pan. (5 minutes)
03
StepBake in the preheated oven until bones begin to brown and caramelize, about 30 minutes. This step enhances the broth's flavor. (30 minutes)
04
StepTransfer the roasted bones to a slow cooker. Pour in enough cool water to completely cover the bones. Add the thickly sliced onions, roughly chopped carrots, crushed garlic, and bay leaves to the slow cooker. (10 minutes)
05
StepCook on Low for at least 24 hours, or up to 48 hours for an even richer flavor. The longer it simmers, the more nutrients are extracted from the bones. (24-48 hours)
06
StepStrain the broth through a fine-mesh strainer lined with cheesecloth into a clean container. Discard the solids. Refrigerate the broth for up to 5 days, or freeze for longer storage. As it cools, the broth will congeal due to the collagen content.
You need to login to claim your token
🔐 Login to get tokenYOU MAY ALSO LIKE

RECIPE REVIEWS
LEAVE A REVIEW
Please Rate
LATEST RECIPES
-
 1
1 -
 2
2 -
 3
3 -
 4
4 -
 5
5
Rosalind Senger
Jun 17, 2025I added some ginger and turmeric for an extra boost of anti-inflammatory properties. Delicious!
Reggie Wuckert
Jun 7, 2025I used chicken bones from a roasted chicken and it turned out amazing!
Caitlyn Torp
May 5, 2025This broth is so much richer than store-bought! The roasting step really makes a difference.
Jarrett Muller
Apr 30, 2025The instructions were very clear and easy to follow. My first attempt was a success!
Jonathon Carter
Mar 21, 2025Freezing the broth in individual portions makes it so convenient to use in recipes.
Joshua Weissnat
Mar 6, 2025This recipe saved me from a cold this winter.
Jovany Rippin
Oct 28, 2024I've been making this weekly for my family. It's a game changer for our health!
Casper Little
Oct 22, 2024My kids love this broth! I sneak it into their mac and cheese.